In 9 days it would’ve been 2 years since I last posted. Wow time does… Fly.
Around a month ago, I was messing around with Fly.io + nix
for a toy project, and tweeted
about the experience. There I was asked by @GemmaBlackUK
if I had written an article about it, and thought well maybe it would make a
nice article to start with after years of ignoring this blog. So here’s a debut
article for my new blog engine (that I may rewrite yet again in a year).
The current approach Fly.io recommends doing is you write a Dockerfile to
build, and run your app on their platform. However, if you’ve already packaged
your application with nix, it would be nice to capitalize on that, and throw
it into a docker image somehow instead of having to create a separate build process.
But do not fret, you can do something like that! Just with slightly more work.
You’ll need to have the following installed:
nix with flakes enabledThe rest of the tools needed will be supplied by nix in a dev shell we’ll make.
To start everything off, let’s make a flake.nix by running nix flake init
in your directory of choice. This generates the file with the following:
# flake.nix
{
  description = "A very basic flake";

  inputs = {
    nixpkgs.url = "github:nixos/nixpkgs?ref=nixos-unstable";
  };

  outputs = { self, nixpkgs }: {
    # NOTE: You can delete this
    packages.x86_64-linux.hello = nixpkgs.legacyPackages.x86_64-linux.hello;

    # NOTE: and this because we don't need them
    packages.x86_64-linux.default = self.packages.x86_64-linux.hello;
  };
}
The application that’s gonna run in the image is one that reads an environment
variable APP_ECHO_ME, and renders it into an HTML page served by axum. The
environment will be set through Fly secrets.
You can find it in this GitHub repository. Though if you have one to already tinker with, feel free to skip to the next section.
The gist of it is webecho looks for the environment variable APP_ECHO_ME,
and renders it into an HTML page that’s served by axum.
// main.rs
use axum::{response::Html, routing, Router};
#[tokio::main]
async fn main() {
// please dkm for unwraps
let app = Router::new().route("/echo", routing::get(echo));
let listener = tokio::net::TcpListener::bind("0.0.0.0:8080").await.unwrap();
axum::serve(listener, app).await.unwrap();
}
async fn echo() -> Html<String> {
match std::env::var("APP_ECHO_ME") {
Ok(val) => Html(format!("<h1>{val}</h1>")),
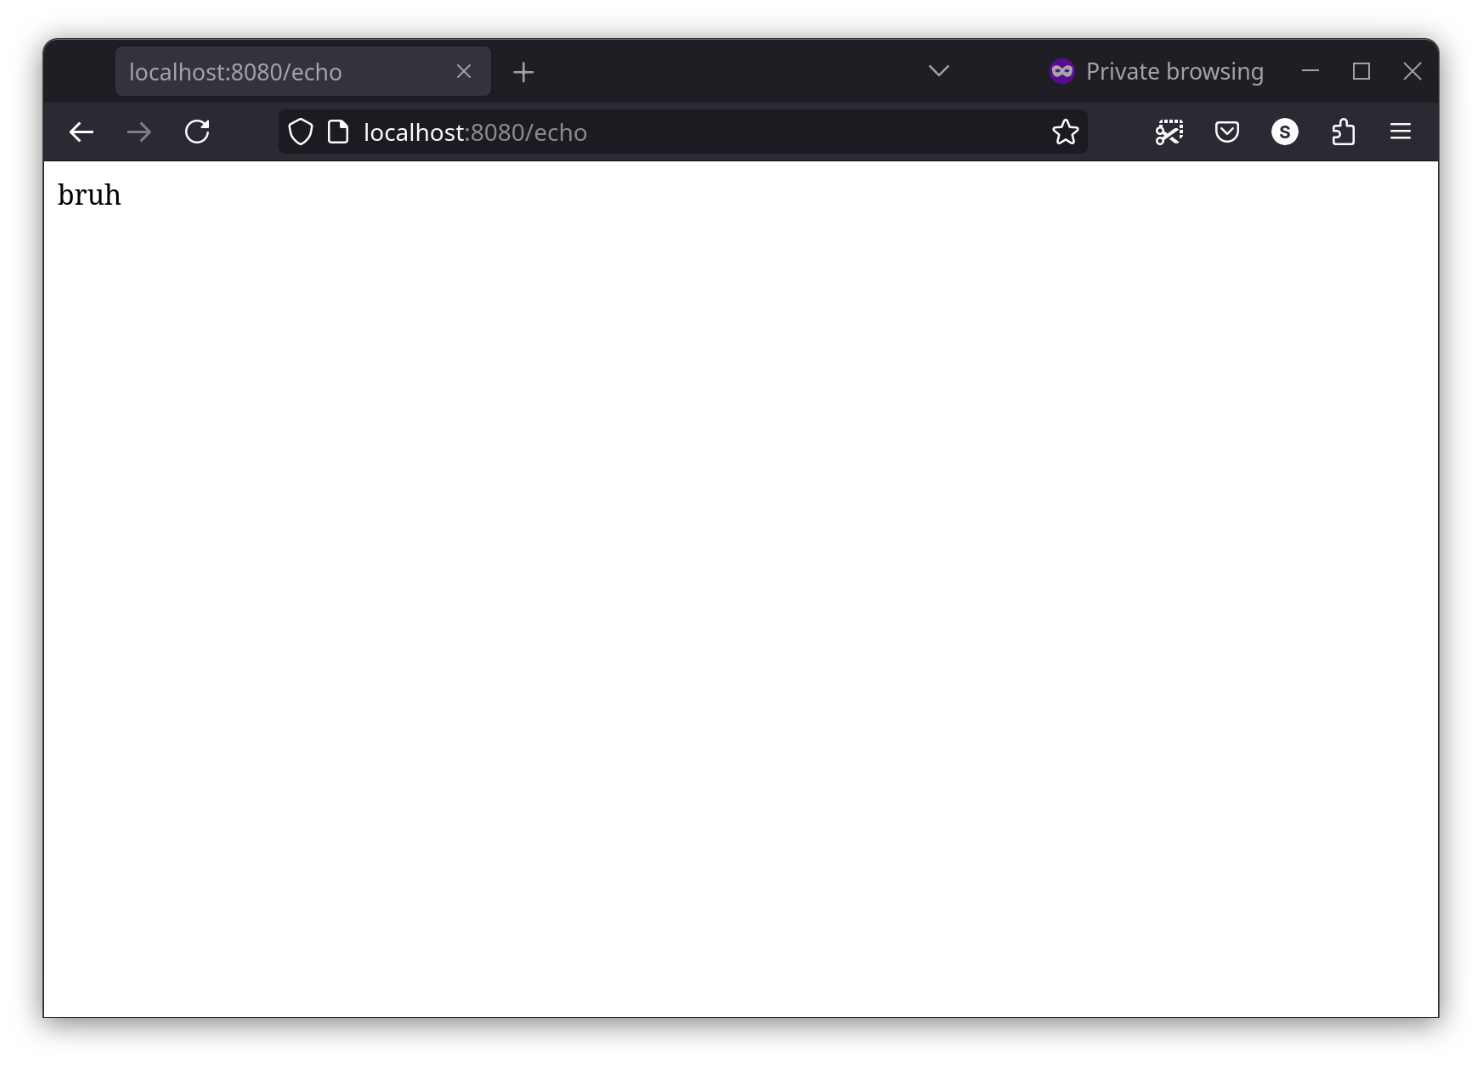
Err(_) => Html(format!("bruh")),
}
}
Which we packaged with nix like so
# flake.nix
{
  inputs = {
    # We set the nix packages repo to the latest stable (at the time of writing)
    nixpkgs.url = "github:NixOS/nixpkgs/nixos-24.05";
    # Used for packaging rust applications
    crane.url = "github:ipetkov/crane";

    # Used for setting up rust toolchain
    fenix = {
      url = "github:nix-community/fenix";
      inputs.nixpkgs.follows = "nixpkgs";
      inputs.rust-analyzer-src.follows = "";
    };
  };

  outputs = { self, nixpkgs, crane, fenix }:
    let
      system = "x86_64-linux";
      pkgs = import nixpkgs { inherit system; };

      # We're telling crane about the rust toolchain we want to use
      craneLib = (crane.mkLib pkgs).overrideToolchain
        fenix.packages.${system}.stable.toolchain;

      # Project source for crane to look in
      src = pkgs.lib.cleanSourceWith {
        src = ./.;

        filter = path: type:
          (craneLib.filterCargoSources path type)
        ;
      };

      commonArgs = {
        inherit src;
        version = "0.1.0";
        strictDeps = true;
        pname = "webecho";
        name = "webecho";
        buildInputs = [ ];
        nativeBuildInputs = [ ];
      };

      cargoArtifacts = craneLib.buildDepsOnly commonArgs;

      webecho = craneLib.buildPackage (commonArgs // {
        inherit cargoArtifacts;
        doCheck = false;
        CARGO_PROFILE = "release";
      });
    in
    {
      packages.${system} = { inherit webecho; };

      # This part is optional if you want to format your nix files, or have
      # a nix LSP in your dev environment. Feel free to ignore otherwise.
      devShells.${system}.default = craneLib.devShell {
        packages = with pkgs; [ nixpkgs-fmt nil dive flyctl ];
      };
    };
}
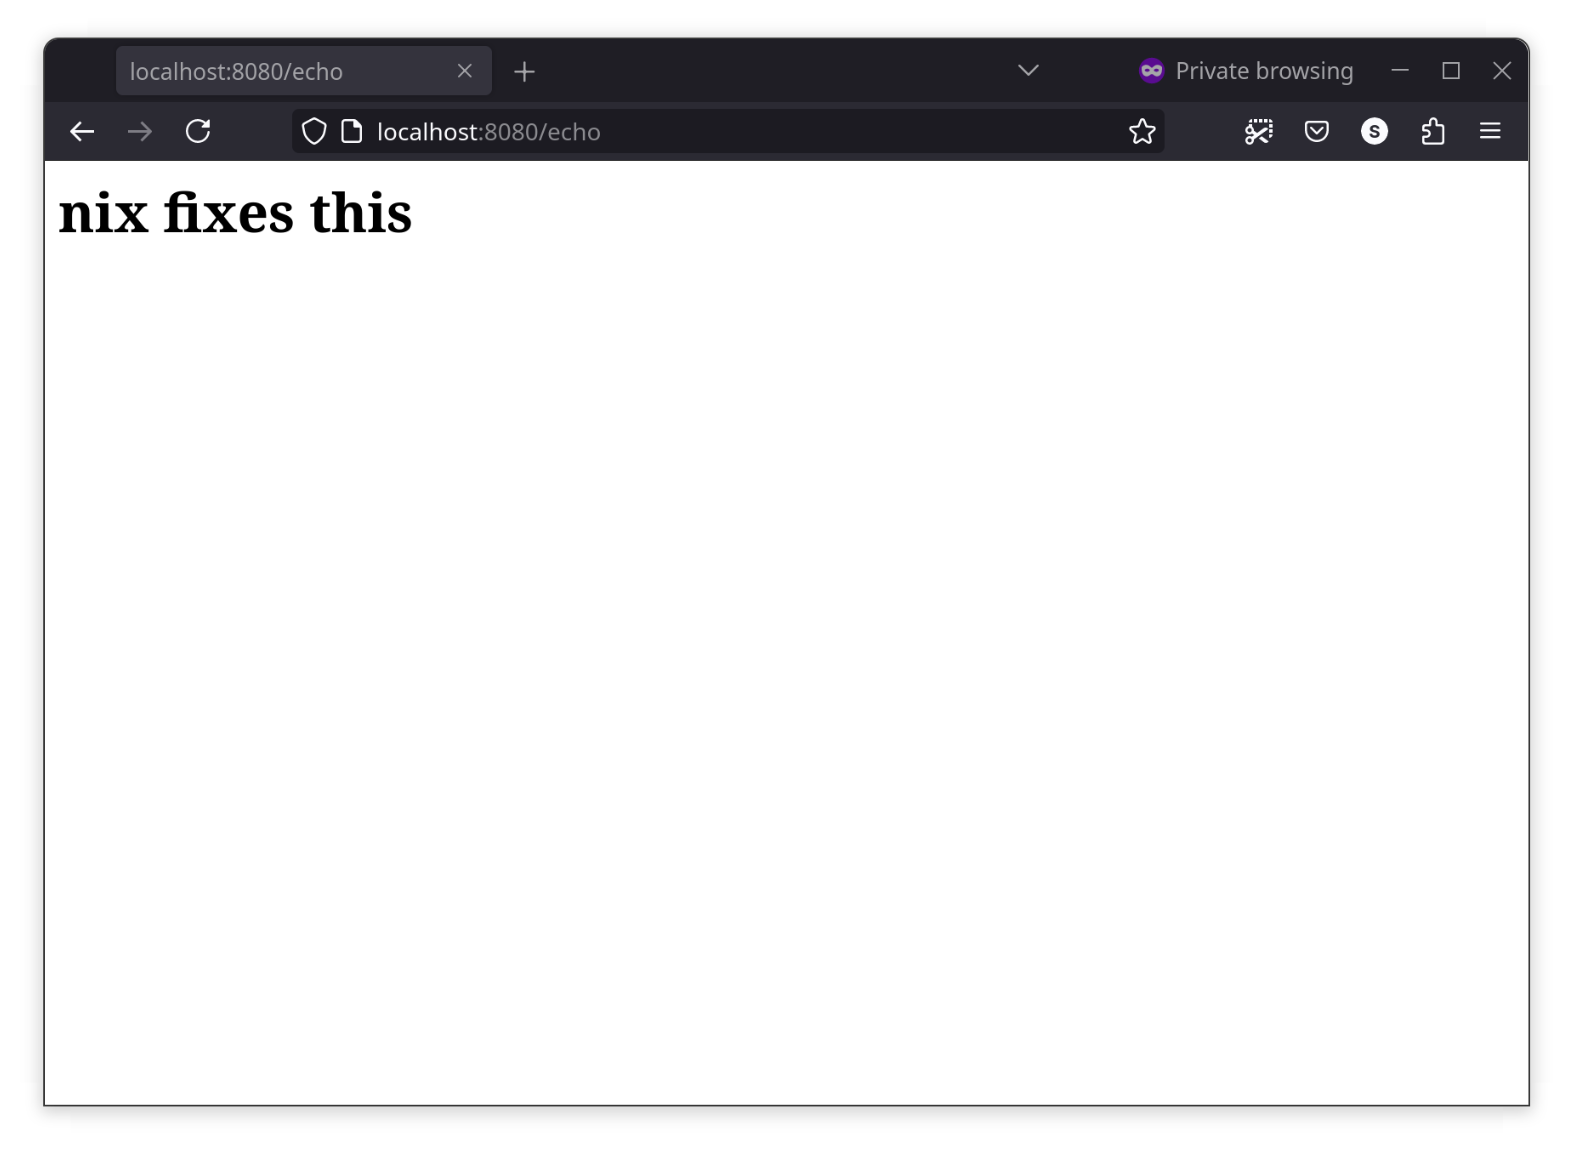
We can run webecho with nix run .#webecho, and then visit http://localhost:8080/echo.
and APP_ECHO_ME="nix fixes this" nix run .#webecho to imitate the average nixos
user on twitter dot com.
nix has a few options for creating images1 but the one we’ll be using is
pkgs.streamLayeredImage2. It has a bunch of attributes in it but we’re only
interested in a couple of them. Specifically these:
pkgs.streamLayeredImage {
    name = "webecho";
    tag = "latest";
    contents = [];

    config = {
      Cmd = [ "/bin/webecho" ];
    };
}
So the NixOS manual says this about the contents attribute:
Directories whose contents will be added to the generated image. Things that coerce to paths (e.g. a derivation) can also be used. This can be seen as an equivalent of
ADD contents/ /in a Dockerfile.All the contents specified by contents will be added as a final layer in the generated image. They will be added as links to the actual files (e.g. links to the store paths). The actual files will be added in previous layers.
Which is something we want for our webecho application since it’s what gets
executed when the container runs.
And build it like how we build webecho earlier. Only this time, this will build
both the webecho application, and the image.
$ nix build .#webechoImg
The generated image is stored in a tar file which we have to load into docker
as an image.
$ ./result | docker image load
No 'fromImage' provided
Creating layer 1 from paths: ['/nix/store/zvwpisszhpkkk8spqyya8n3bpm7wj39p-libunistring-1.1']
Creating layer 2 from paths: ['/nix/store/9jivp79yv91fl1i6ayq2107a78q7k43i-libidn2-2.3.7']
Creating layer 3 from paths: ['/nix/store/2y852kcvb7shrj8f3z8j22pa0iybcbgj-xgcc-13.2.0-libgcc']
Creating layer 4 from paths: ['/nix/store/c10zhkbp6jmyh0xc5kd123ga8yy2p4hk-glibc-2.39-52']
Creating layer 5 from paths: ['/nix/store/yfd49ay99aa1a0jg80jsvnxbyl61fsh6-gcc-13.2.0-libgcc']
Creating layer 6 from paths: ['/nix/store/swcl0ynnia5c57i6qfdcrqa72j7877mg-gcc-13.2.0-lib']
Creating layer 7 from paths: ['/nix/store/5w470zmki3wby35ki8ql3xhrd8x450lf-webecho']
Creating layer 8 with customisation...
Adding manifests...
Done.
14d9ed21e5fa: Loading layer [==================================================>]    983kB/983kB
18dc56492fda: Loading layer [==================================================>]  10.24kB/10.24kB
The image webecho:latest already exists, renaming the old one with ID sha256:71901dfab2e5a591cf264891021db0bc258927788db5786f18fbbb8835fc6b5e to empty string
Loaded image: webecho:latest
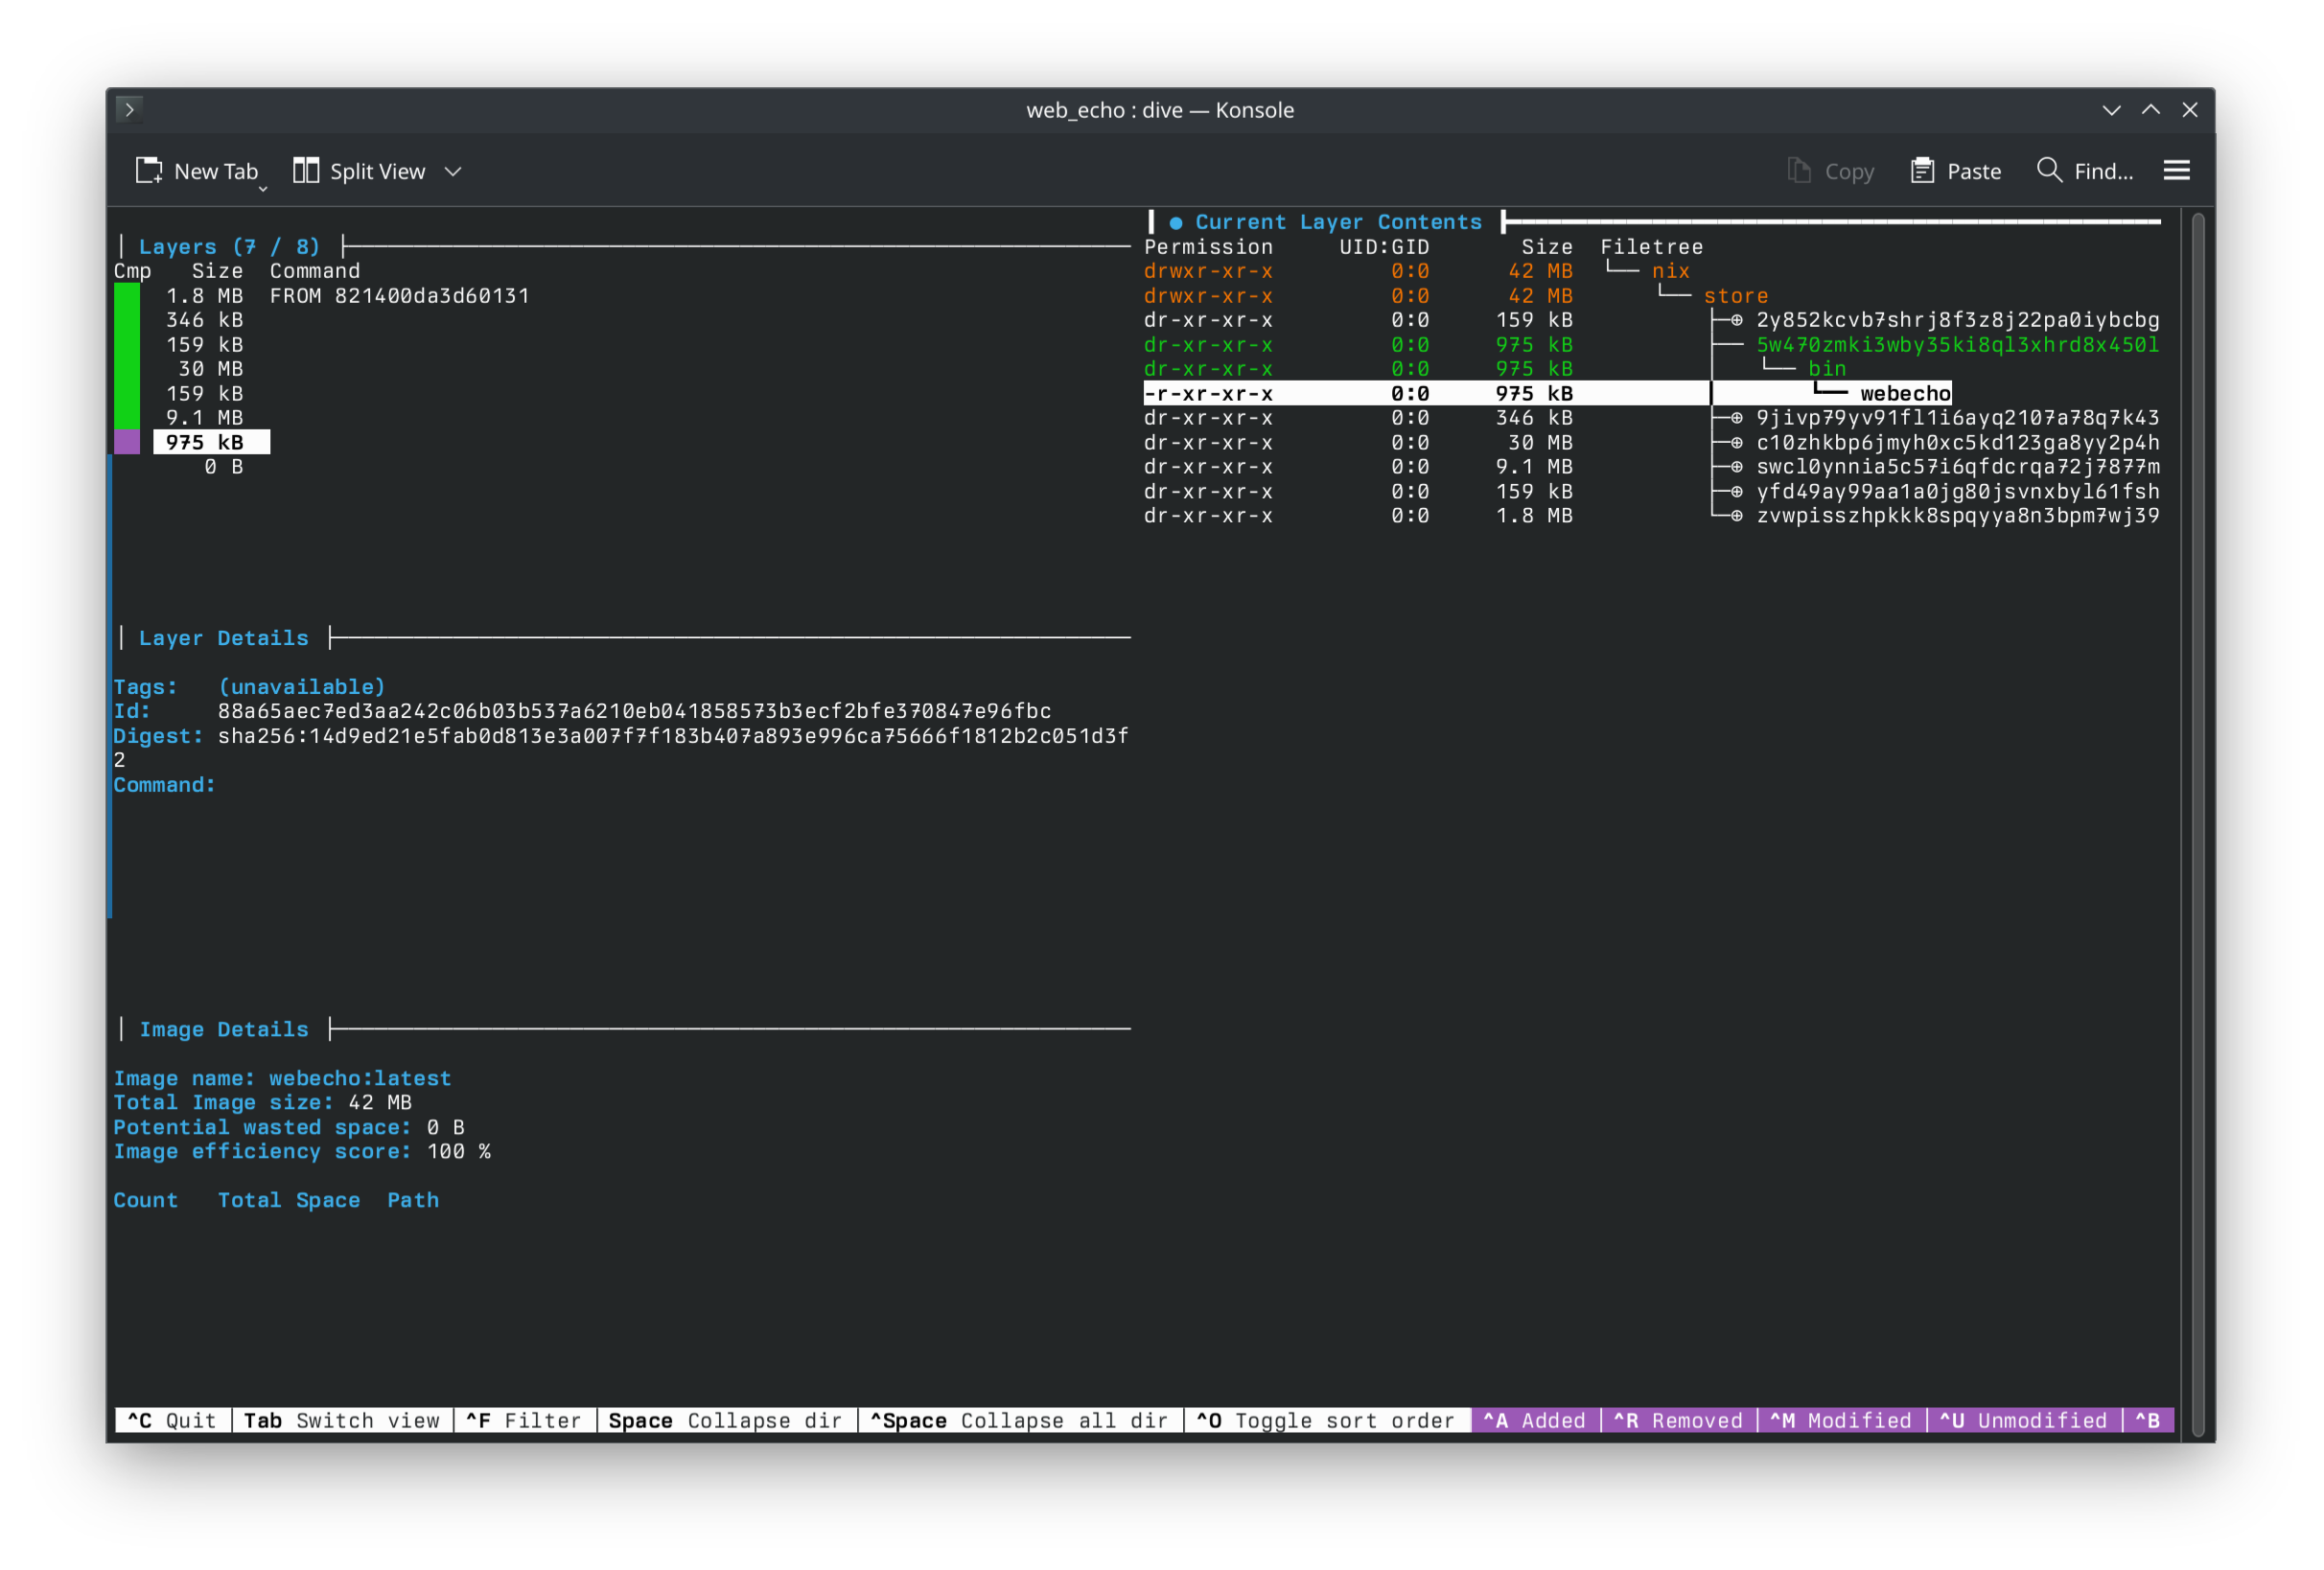
You can look around the image with dive webecho:latest.
Then you can run this image as if it were any other image created from a Dockerfile!
$ docker run -p 8080:8080 webecho:latest
And when we try to curl it
$ curl http://localhost:8080/echo
bruh⏎
So far looks pretty good.
This part shouldn’t differ too much from the usual deployment process.
First, login your Fly account with flyctl auth login.
This opens a new tab in your browser for you to complete the login process.
$ fly auth login
$ fly auth docker # authenticates your local docker to push to their container registry
$ fly apps create webecho # create an application called webecho under your account
Then we need to tag the image to something that Fly.io expects which is in the format
of registry.fly.io/<APP_NAME>:<VERSION>, and push it to their registry.
$ docker image tag webecho:latest registry.fly.io/webecho:latest
$ docker push registry.fly.io/webecho:latest
The push refers to repository [registry.fly.io/webecho]
18dc56492fda: Pushed
14d9ed21e5fa: Pushed
f958be77db0f: Pushed
5a95ac30ae8b: Pushed
0dbac4a9743c: Pushed
6b971f7d0a50: Pushed
905fa559f035: Pushed
975a8857676b: Pushed
latest: digest: <SHA265 OMITTED> size: 1995
Finally, we create the fly.toml file
# fly.toml
app = 'webecho'
primary_region = 'sea'

[build]
image = 'registry.fly.io/webecho:latest'

[deploy]
strategy = "rolling"

[http_service]
internal_port = 8080
force_https = true
auto_stop_machines = 'stop'
auto_start_machines = true
min_machines_running = 1
processes = ['app']

[[vm]]
size = 'shared-cpu-1x'
memory = "256mb"
cpus = 1

[checks.health]
type = "http"
method = "GET"
path = "/echo"
port = 8080
interval = "5s"
timeout = "5s"
And deploy!
$ flyctl deploy -c fly.toml -a webecho
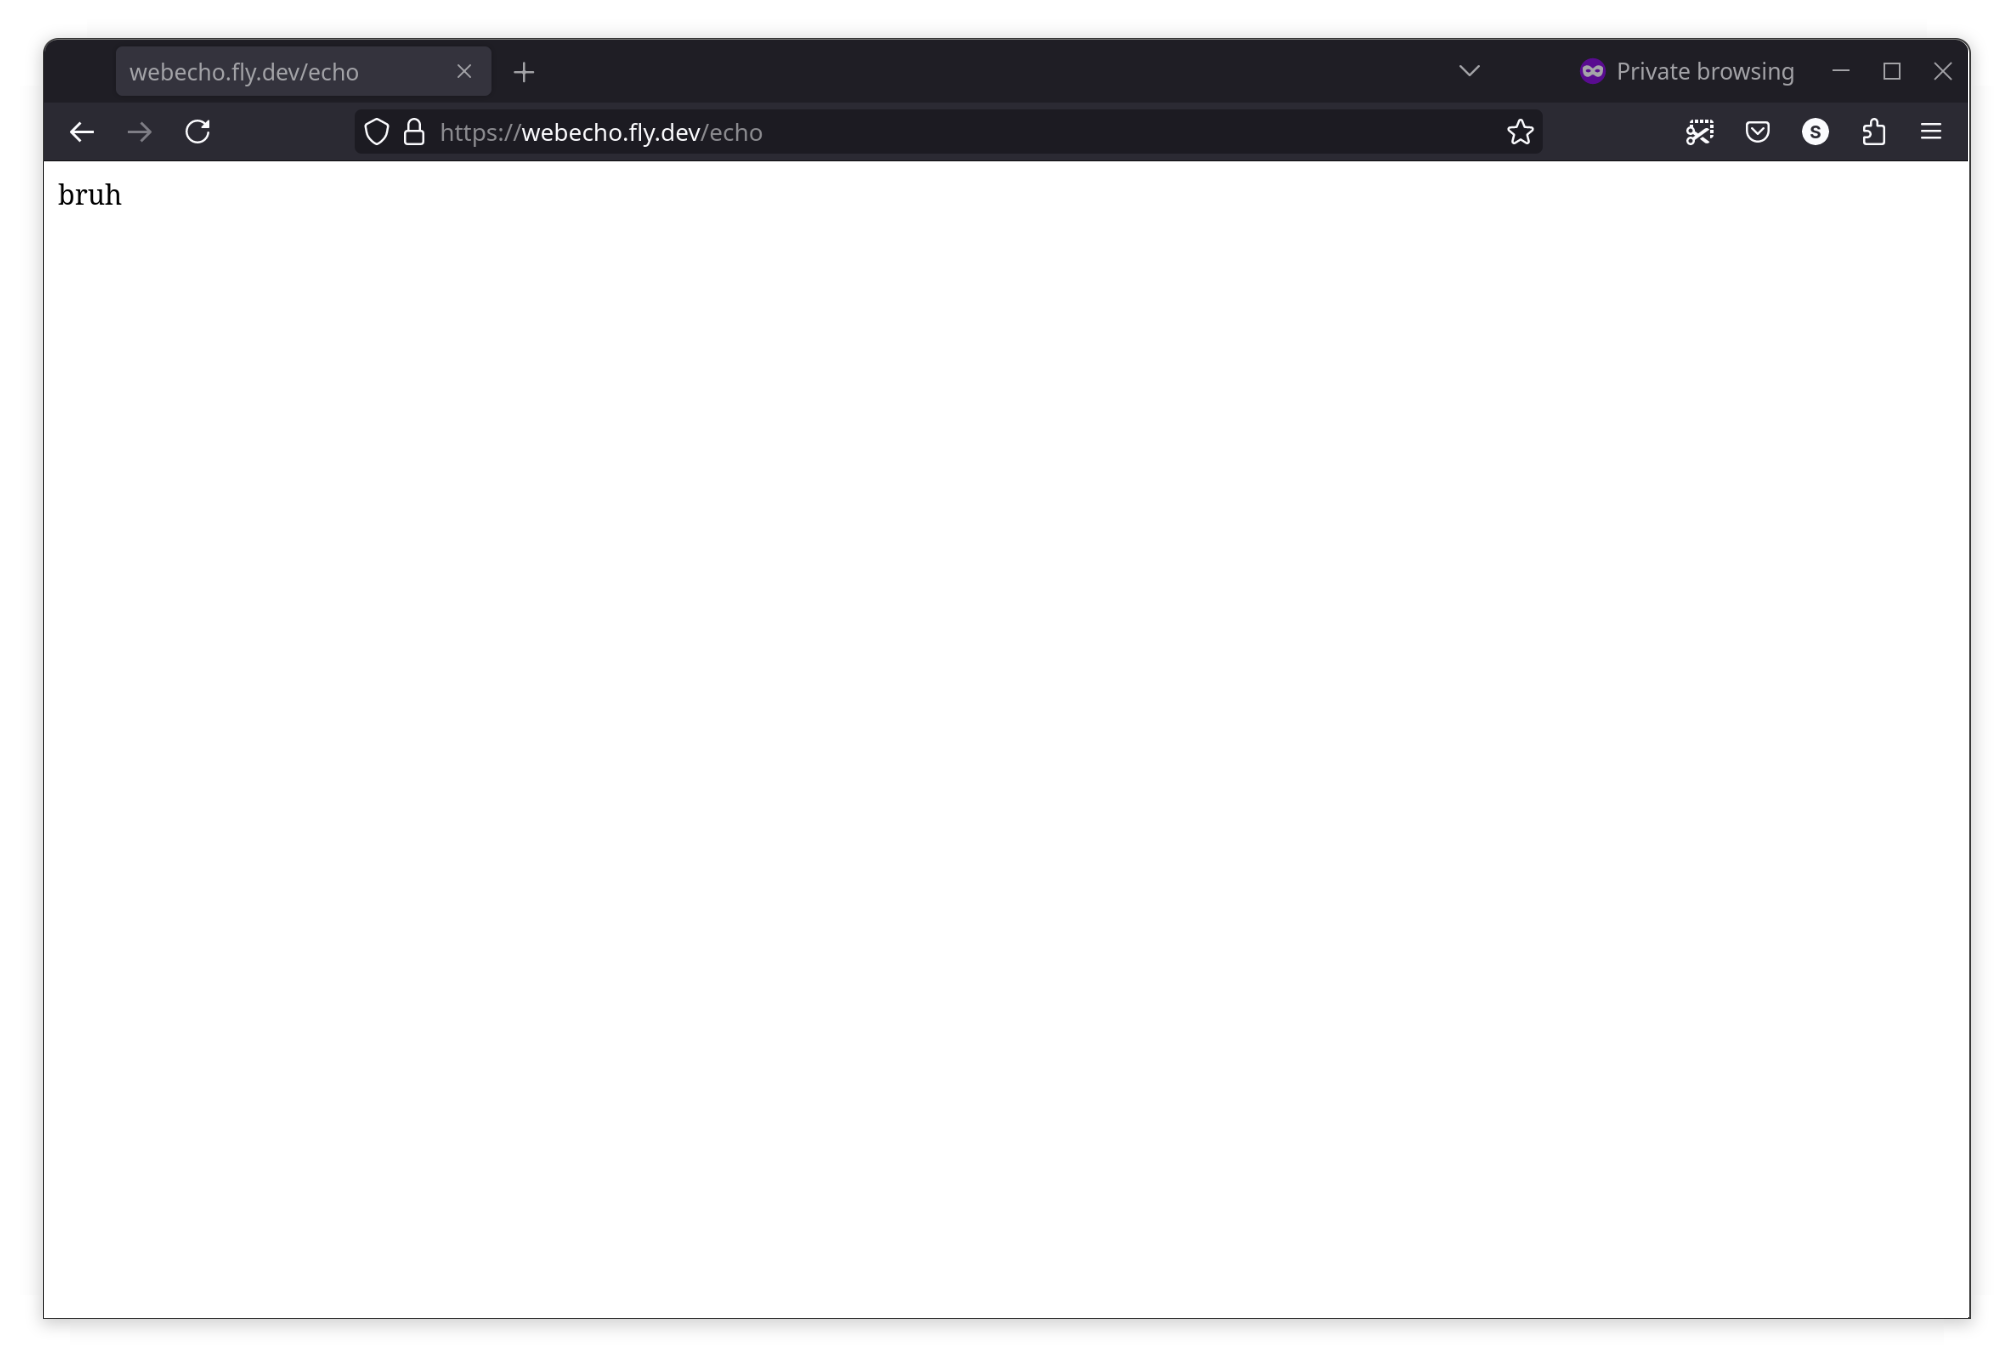
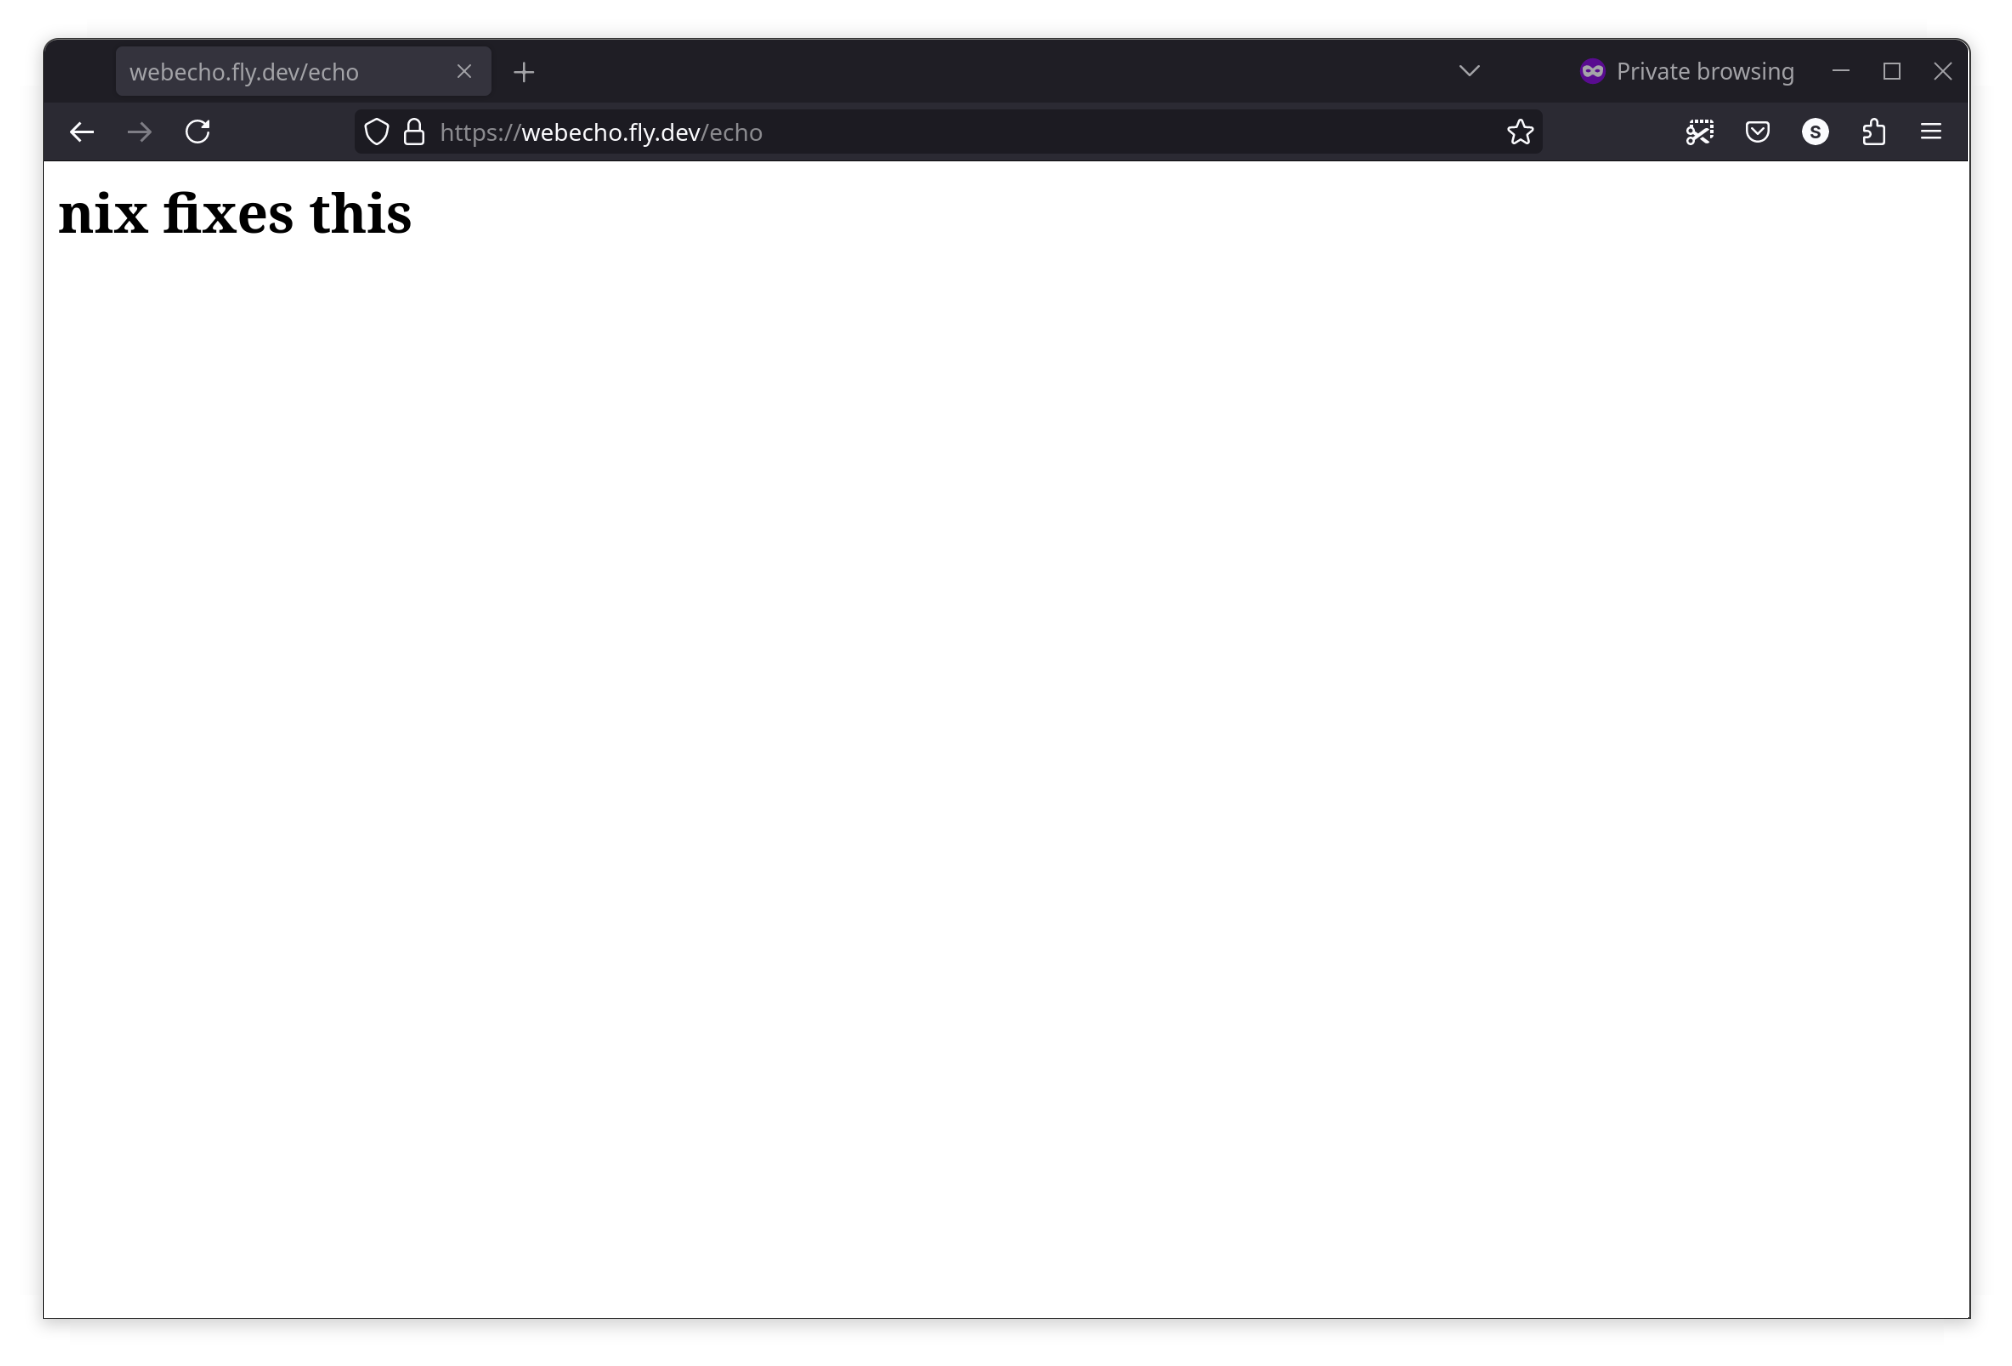
Your app’s URL will vary depending on what they give you. Check your app’s dashboard just to be sure.
Right. Forgot to set the environment variable!
$ fly secrets set "APP_ECHO_ME=nix fixes this" -c fly.toml -a webecho